
Some plastic parts are judged by how they look as much as by how they fit. A device housing with crisp edges or a cover with a molded-in texture needs more definition than standard vacuum forming usually gives. Yet the production volume may not justify the cost of an injection mold. Pressure thermoforming fills that middle ground. It produces formed parts with sharp detail and refined cosmetic surfaces, using tooling that’s simpler and less expensive than injection mold tooling.
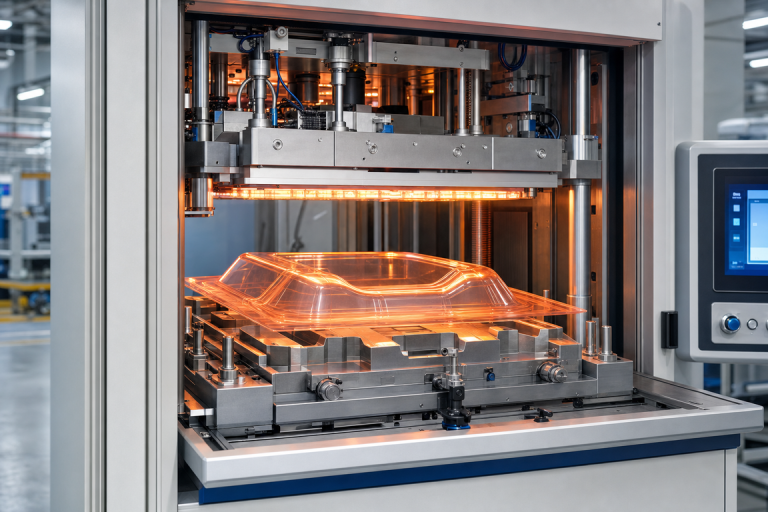
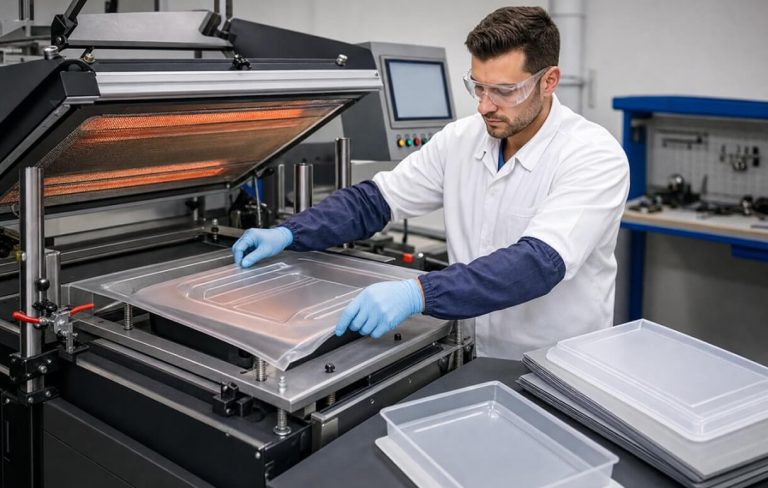
Pressure thermoforming starts the same way as any thermoforming process. A thermoplastic sheet is heated until it’s flexible, then shaped against a mold. The difference is the force behind it. Vacuum forming relies on atmospheric pressure alone: the air between the sheet and the mold is pulled out, and the plastic is drawn into place. Pressure thermoforming adds compressed air on the opposite side of the sheet, usually held in a sealed pressure box, while vacuum keeps pulling from below.
That added force is what sets pressure forming apart from vacuum-only forming. The heated sheet is pushed hard into corners and surface features, so radii can be tighter and textures cut into the mold transfer onto the finished part. Pressure forming generally uses a female (concave) mold. That puts the detail on the outside of the part.
Both processes belong to the same family, and plenty of parts could technically be run either way. The better choice depends on how the part needs to look and how much tooling investment the program can support.
Vacuum forming is a strong fit for trays, inserts, protective covers, and broad-surfaced parts where cosmetic detail matters less. Tooling tends to be simpler, and the process is efficient for repeat production.
High pressure forming is worth evaluating when a thermoformed part needs to look like an injection molded component. Common signs include:
The high pressure forming process follows a set sequence. Decisions made early in that sequence have the most notable effect on part quality and cost.
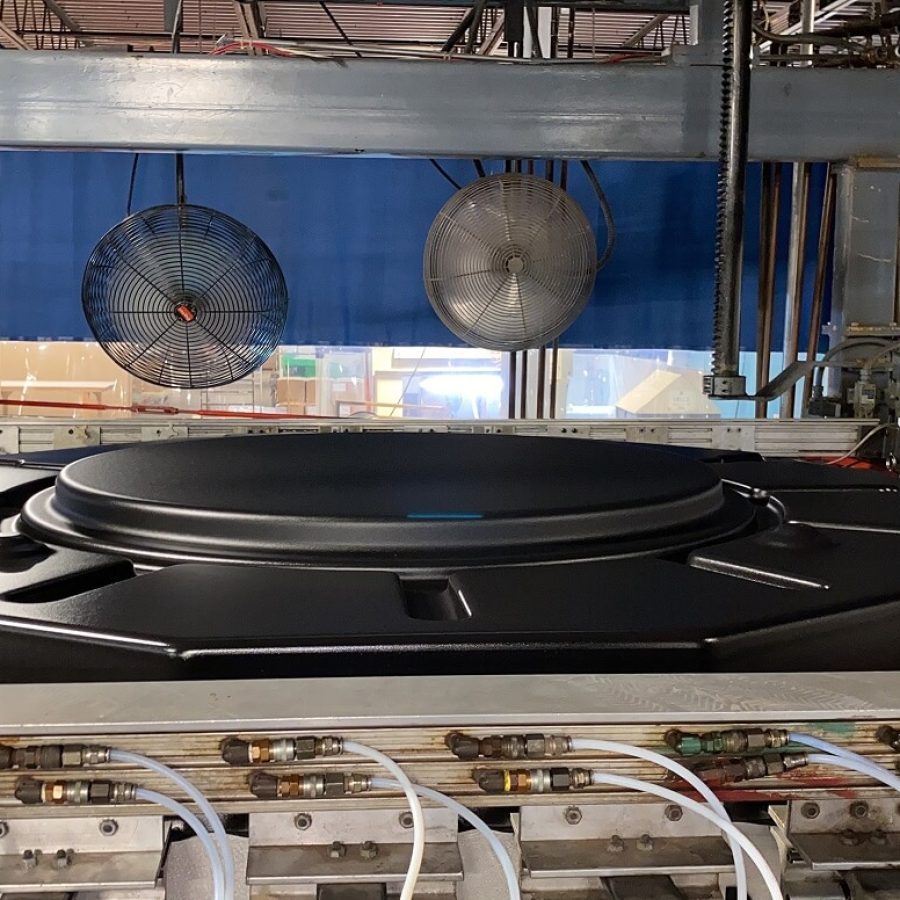
When pressure forming plastic, the material affects the result as much as the tool does. Some sheets pick up fine detail more readily than others, and each has its own balance of impact strength and chemical resistance. Thermoplastics often used for pressure-formed components include:
Sheet thickness, part size, draw depth, and finish requirements should be weighed together. The same material that forms well into a shallow cover may behave differently when formed into a deeper, more complex part.
Custom pressure forming is most often specified for parts that sit in plain view or connect with precision assemblies.
Plastic pressure forming is used for components such as:
SealWerks handles design engineering and forming under one roof at our ISO 9001:2015-certified facility in Elk Grove Village, Illinois. Our pressure forming capabilities take a part from early concept through repeat production with fewer handoffs between suppliers.

You might be validating a new design, moving a part off vacuum forming, or looking for an alternative to injection mold tooling. Our pressure forming services can help you get there. Send us your drawings, CAD files, material requirements, target volumes, and application notes. We welcome RFQs at any stage of development, and our engineers will help confirm whether pressure forming is the right fit before tooling begins.
The tooling usually is. Pressure forming uses a single-sided mold. Injection molding needs a matched cavity and core built to handle much higher pressures. That makes pressure forming tools less expensive and quicker to produce. Per-part cost is a different story. Injection molding cycles faster and becomes more economical at high volumes, especially for small to medium parts. Pressure forming tends to make the most sense for larger parts at low to moderate volumes.
Yes, within limits. Because the heated sheet is forced into a female mold, it can form features like return flanges and snap-fit details. Deeper or more complex undercuts may need moving sections in the tool so the part can be released.
The side that touches the mold. With a female tool, that’s the inside of the part. The inside surface follows the sheet, and its thickness can vary where the material stretches most, such as corners and deep sections. Put critical cosmetic and dimensional features on the mold side.
Yes. Draft lets the part release cleanly from the mold. Formed plastic shrinks as it cools, and with a female mold it shrinks away from the cavity walls, so female tools can often use less draft than male tools. Textured surfaces usually need more draft so the texture isn’t dragged during release.
Yes. Textures, lettering and logos can be built into the mold surface. Forming pressure pushes the sheet into those details. SealWerks can also source sheets in textured finishes, depending on the material. The best approach depends on where the texture needs to appear and how much the sheet stretches in that area.
Often, but usually not with the same tool. Pressure forming tools are typically female, while vacuum forming tools are often male, and they’re built to handle forming pressure that a vacuum tool isn’t designed for. Through its re-engineering support, SealWerks can review the current part and recommend the right tooling path before you commit to the conversion.